
Any Questions?
Did you find the content in this article helpful? Feel free to leave doubts/questions in the comment section below. We’ll get back to you as soon as possible.
 Getting Started
Sales Suite
Field Ops
Marketing
Service CRM
Developers
FloStack
Getting Started
Sales Suite
Field Ops
Marketing
Service CRM
Developers
FloStack

Distribution Engine is a simple, rules-based way to automatically assign Leads and Opportunities to the right users. It replaces complex automation-based assignment with an easy-to-manage setup that helps you distribute records fairly, reduce manual effort, and meet response SLAs.
You can use Distribute Engine to:
When should you use Distribute Engine?
Use this feature if you want to:
How Distribute Engine works (at a glance)
Distribution Engine supports two trigger modes that control how records enter the engine for assignment.
In Entity Trigger Mode, records automatically enter the Distribute Engine based on the trigger conditions defined inside each assignment rule.
For example:
When the selected event occurs, the engine:
In Automation Trigger Mode, records enter the Distribution Engine only when explicitly sent from an Automation workflow. An automation card called Send to Distribution Engine is available in the automation.
Note: to enable this setting, contact support@leadsquared.com.
If the Distribution Engine does not respond within 10 minutes, the automation card assigns the record to a default user defined inside the “send to distribution engine” card configuration.
The Send to Distribution Engine card is available only for specific automation triggers:
For Leads:
For Opportunities:
This section explains how to create and manage assignment rules.
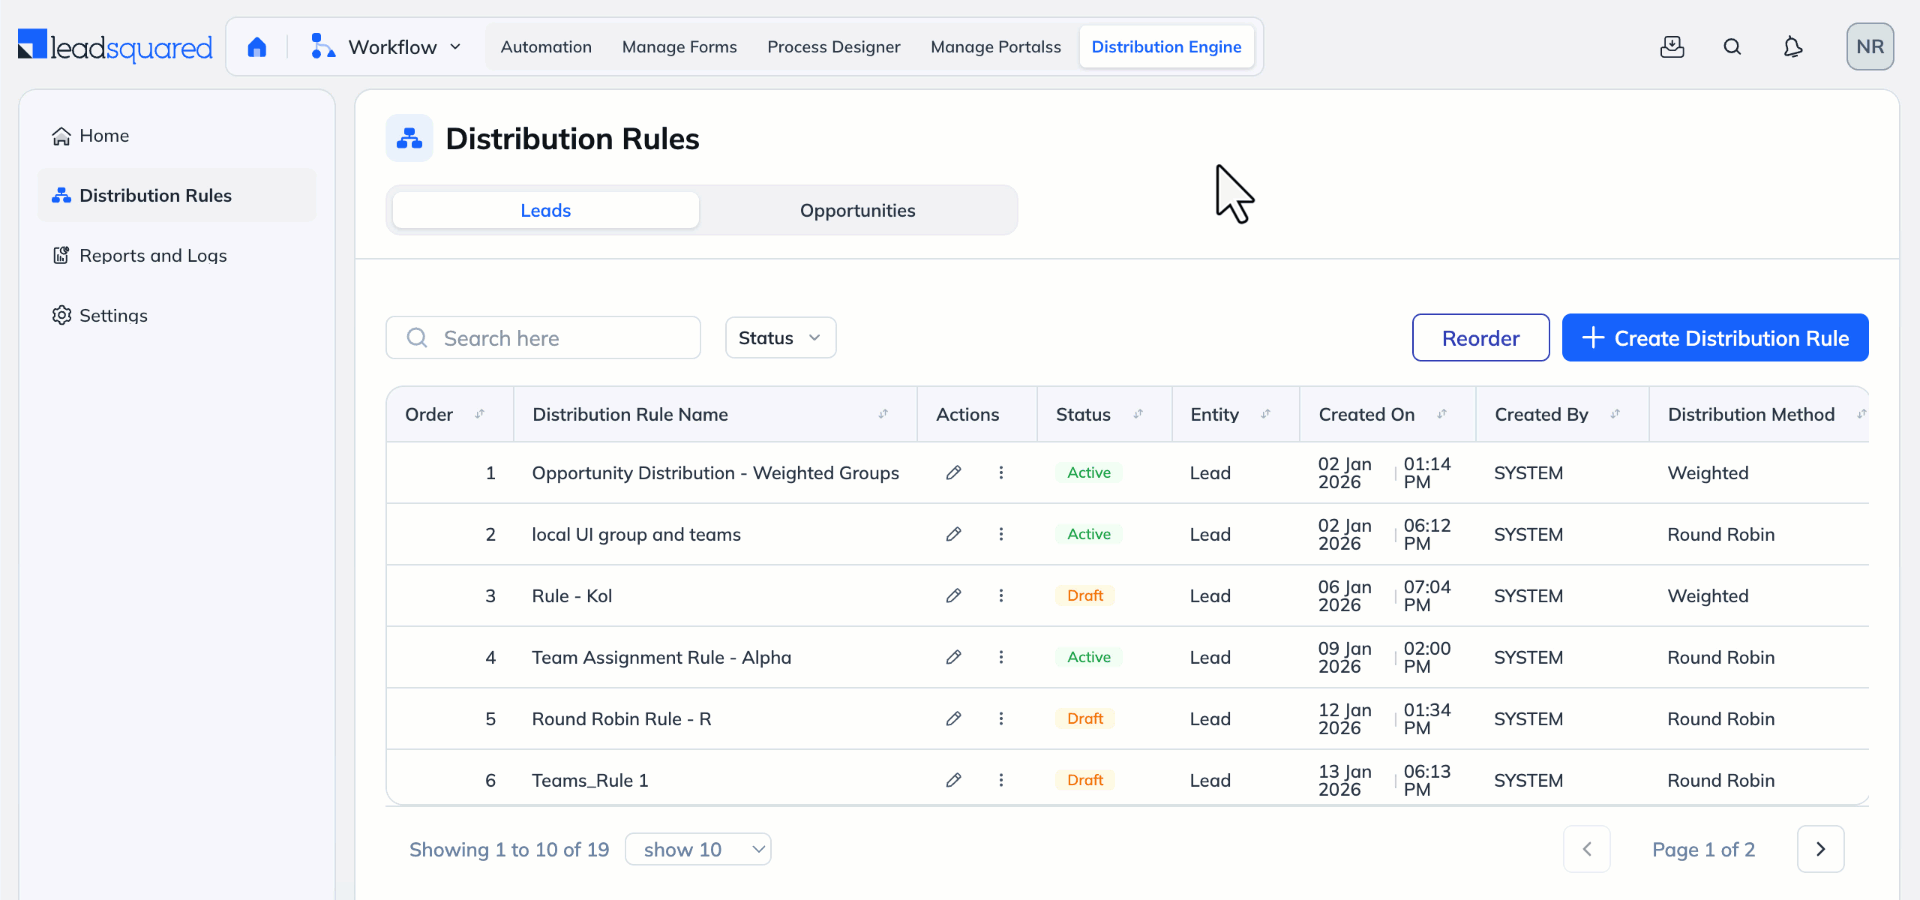
Navigate to Distribution Engine>Distribution Rules. Click + Create Distribution Rule.
Enter basic information about the rule:
You can edit these details later using the pencil icon
Rule creation is a 4-step guided process. You can save progress at any step:
This step decides when the rule runs and which records qualify.
Select entity and event
Only records that match this entry event and conditions will enter the rule.
Define rule conditions (AND / OR logic)
Rule conditions help you narrow down exactly which records should be assigned.
| Condition | When to use | Example |
| AND | Use AND when all conditions must be true. |
|
| OR | Use OR when any one condition can be true. |
|
| Combining AND and OR using groups | Groups help you combine conditions without creating multiple rules. |
|

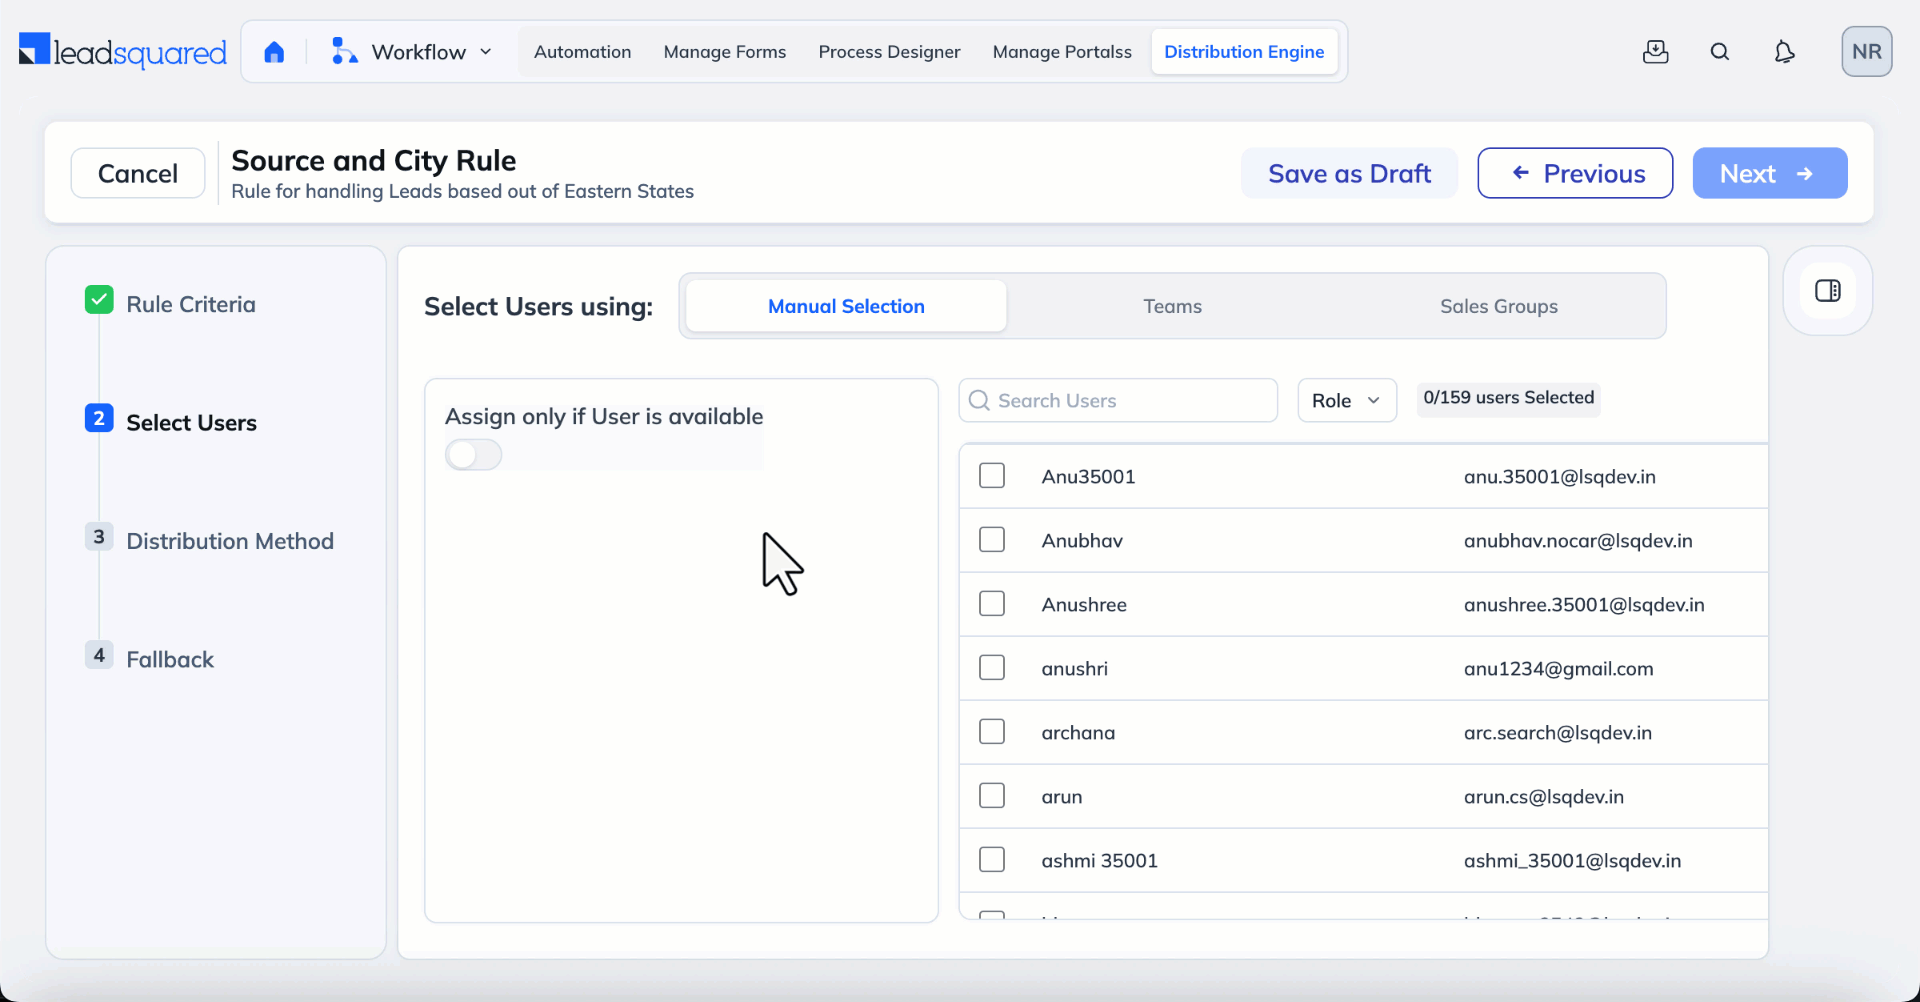
Choose who can receive leads when this rule runs.
You can only select one of the following and cannot combine them in a single rule:
At least one user or one group is required. Also, you can choose to Assign only if the User is available.
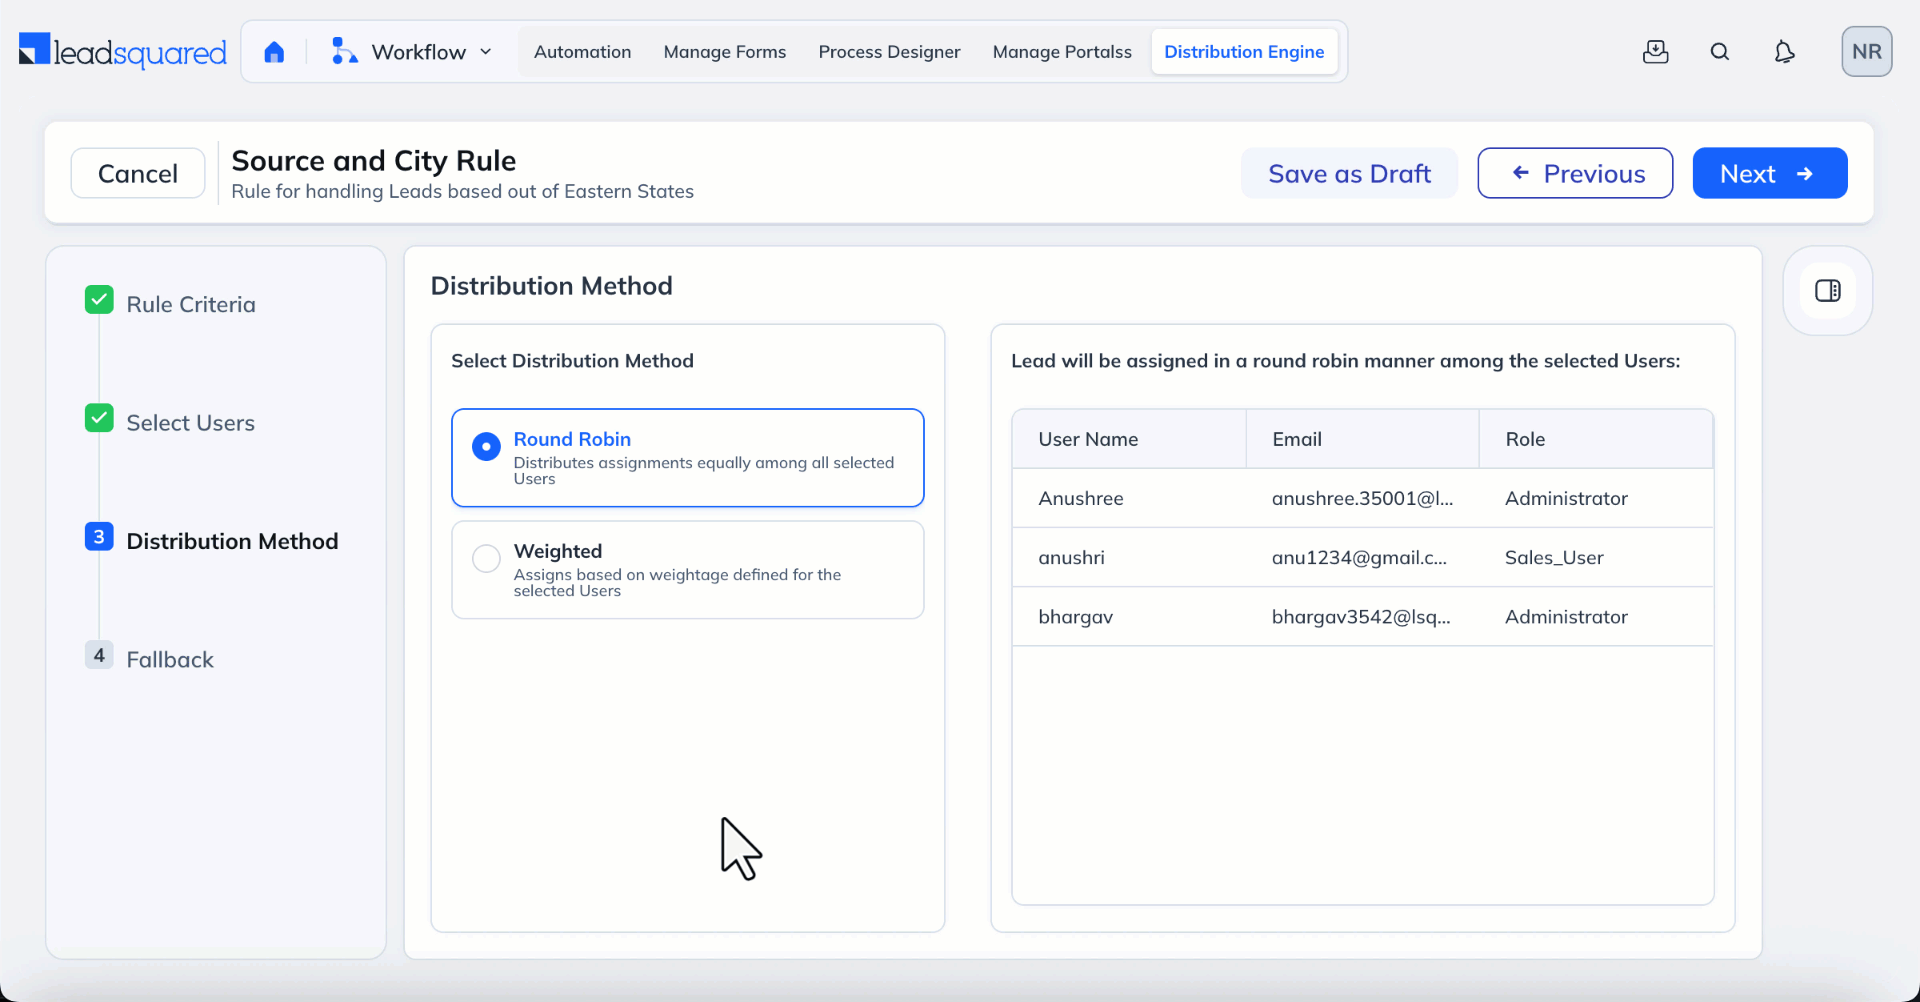
Select one assignment method:
Round Robin assigns records one by one in sequence.
Example with 3 users:
User A → User B → User C → User A → User B → User C → …
Note:
Weighted distribution lets you control how many records each user, team, or sales group should receive compared to others.
Instead of assigning records equally, you define a weight. A higher weight means that entity receives more records in each distribution cycle. Records are always assigned one at a time, and distribution follows a Round Robin pattern.
How It Works
Example 1: Manual Users
You configure:
Total weight = 6
This means in every 6 assignments:
Distribution still follows Round Robin, not bulk allocation.
Example sequence:
A → B → C → A → B → A → (cycle complete)
Then the cycle repeats.
Example 2: Teams or Sales Groups
When you select Teams or Sales Groups, Round Robin is followed at two levels:
Level 1: Between Groups (Based on Weight)
Example:
Total weight = 3
In every 3 assignments:
The engine distributes between East and West using Round Robin while respecting the weight.
Example sequence:
East → West → East → (cycle complete)
Then the cycle repeats.
Level 2: Inside the Group (Round Robin)
Once a record is assigned to a group:
So the full flow looks like:
Record → Group (Round Robin with weight) → User (Round Robin inside group)
Note:
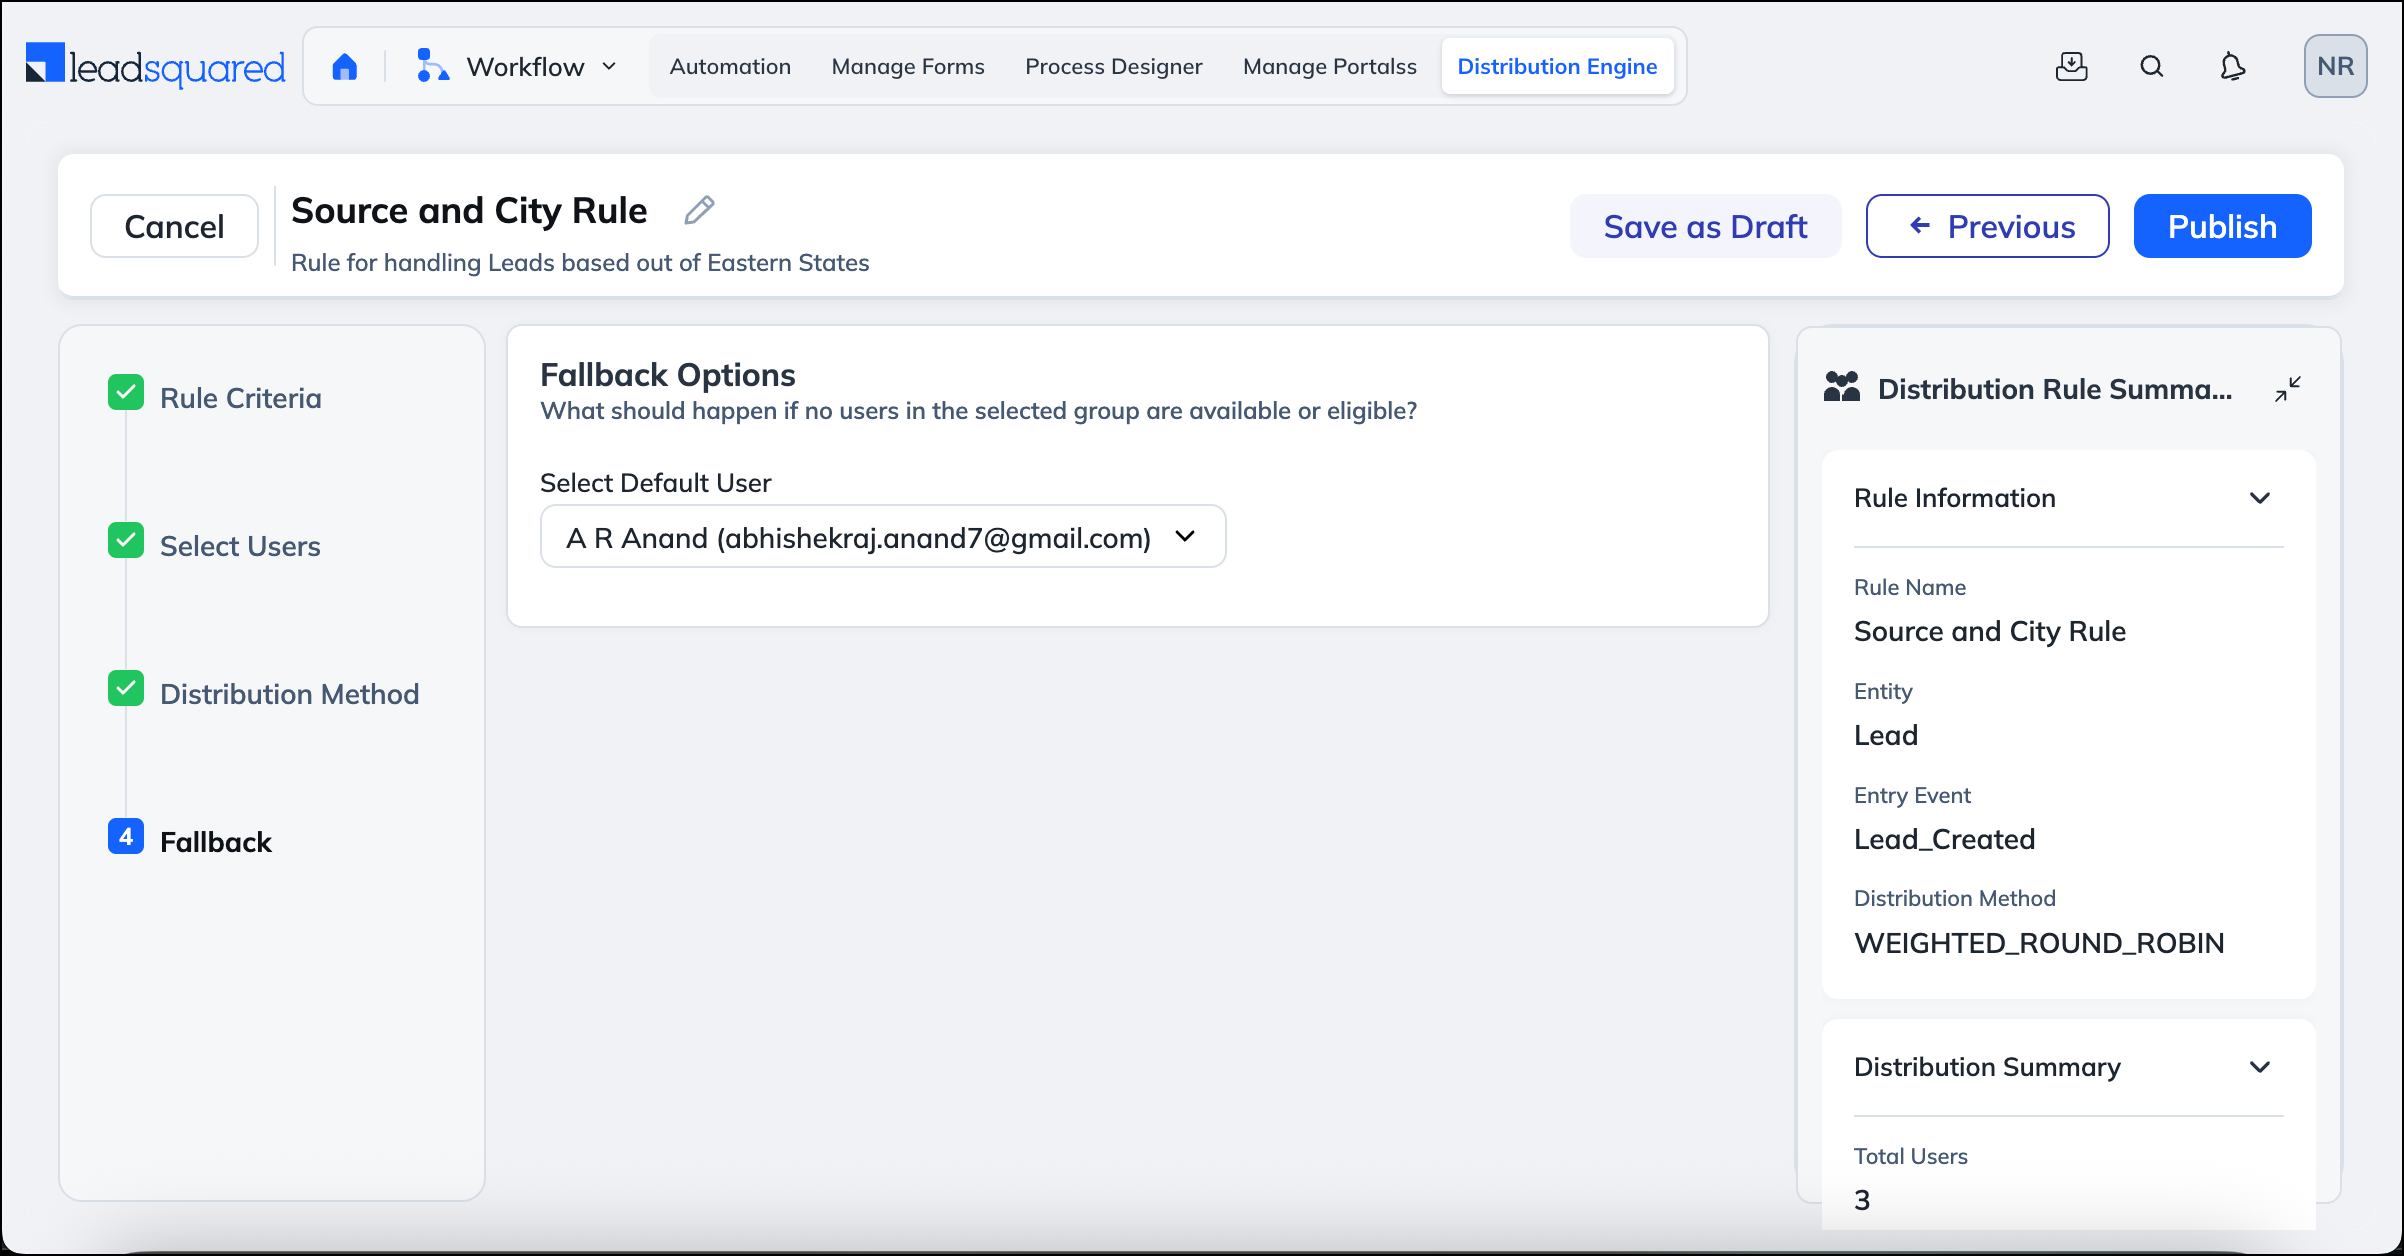
If no eligible user is available, assign the lead to a default user.
Next, you can:
Rule list includes:
You can:
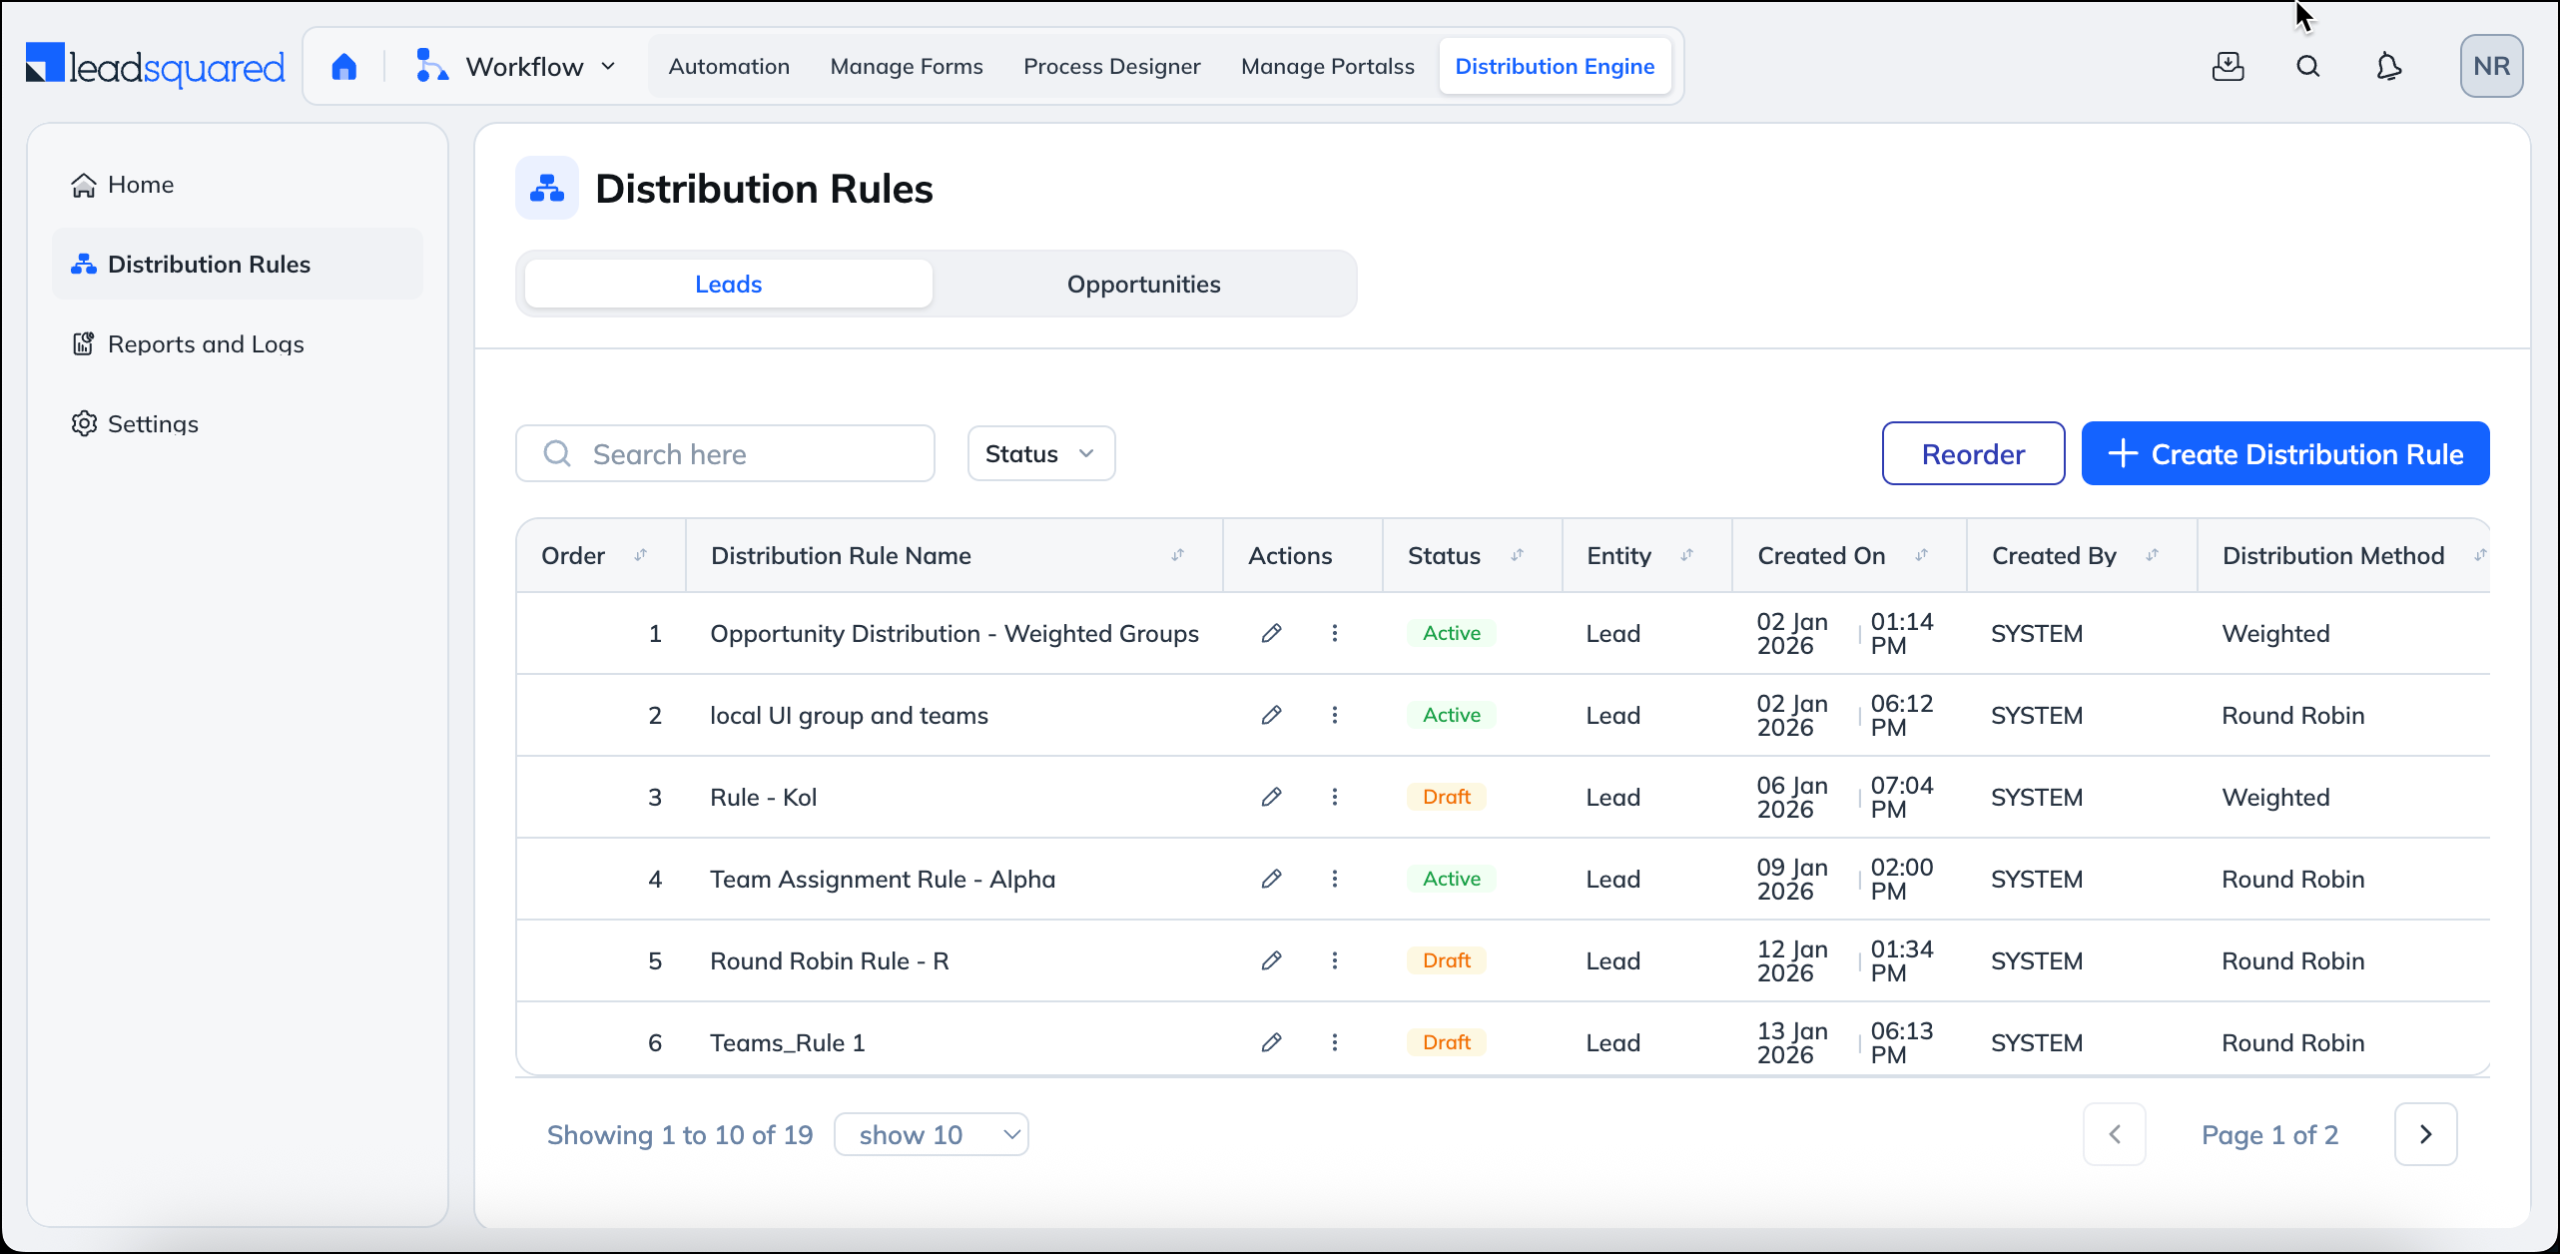
Reordering rules
Rule order decides which rule gets applied first when a record enters the Distribute Engine.
When a Lead or Opportunity evaluated:
Why rule order matters
If multiple rules can apply to the same record, only the highest‑priority rule will run.
Example:
If Rule 1 is above Rule 2, all website leads (including high‑score ones) will be assigned to Team A.
To ensure high‑score leads go to Team B, place Rule 2 above Rule 1.
Note:
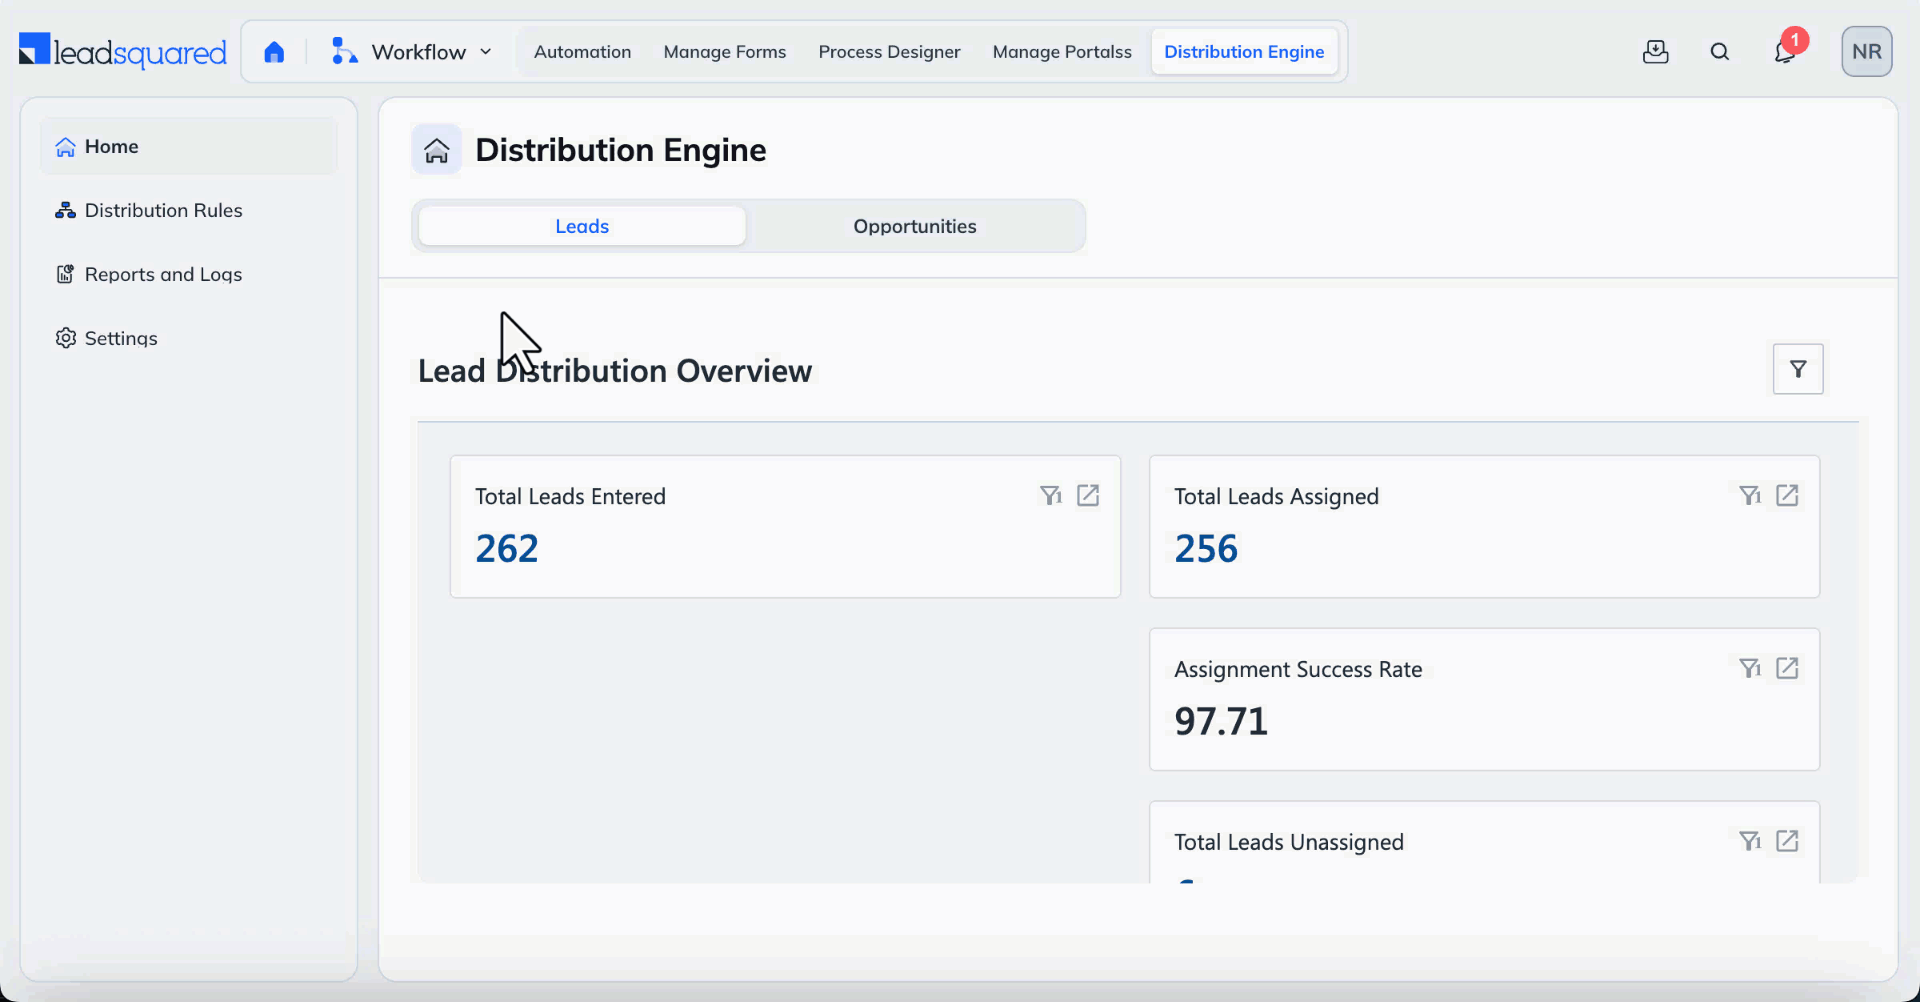
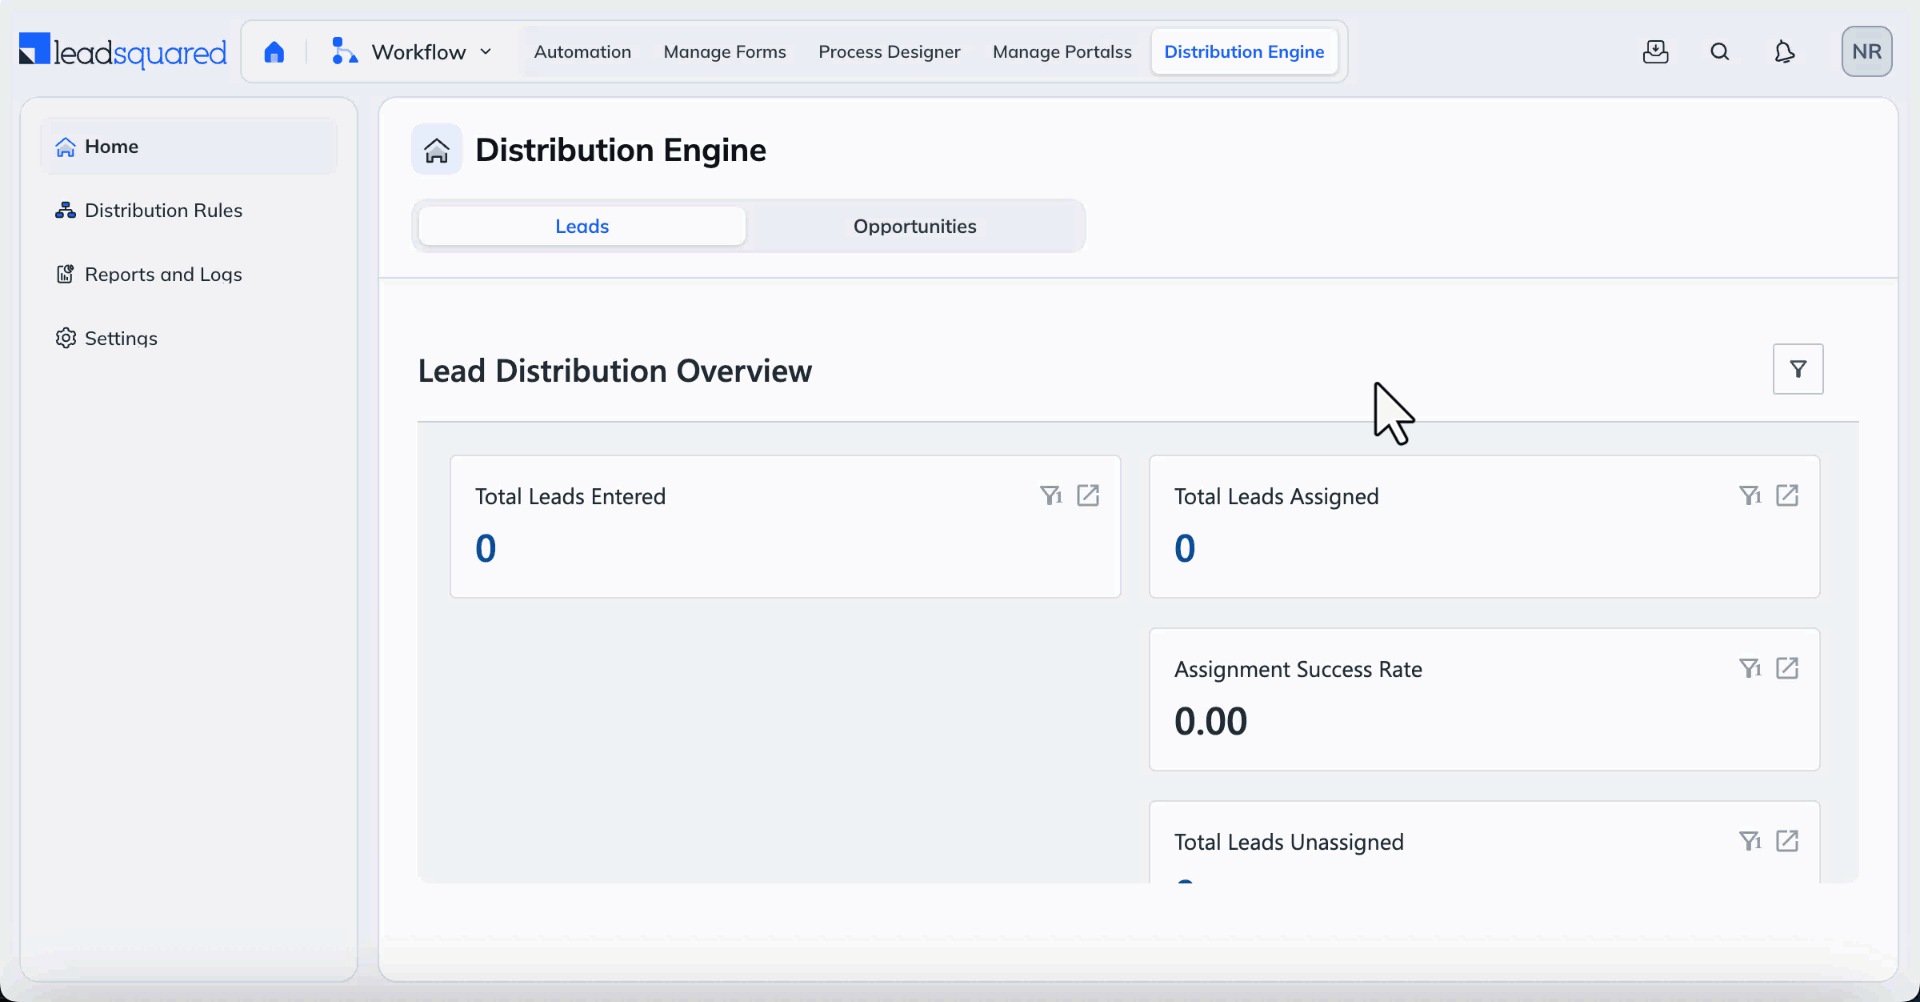
Navigate to Distribution Engine>Home. The Home page gives you a quick distribution overview. Click the filter icon to filter the data by a date-range.
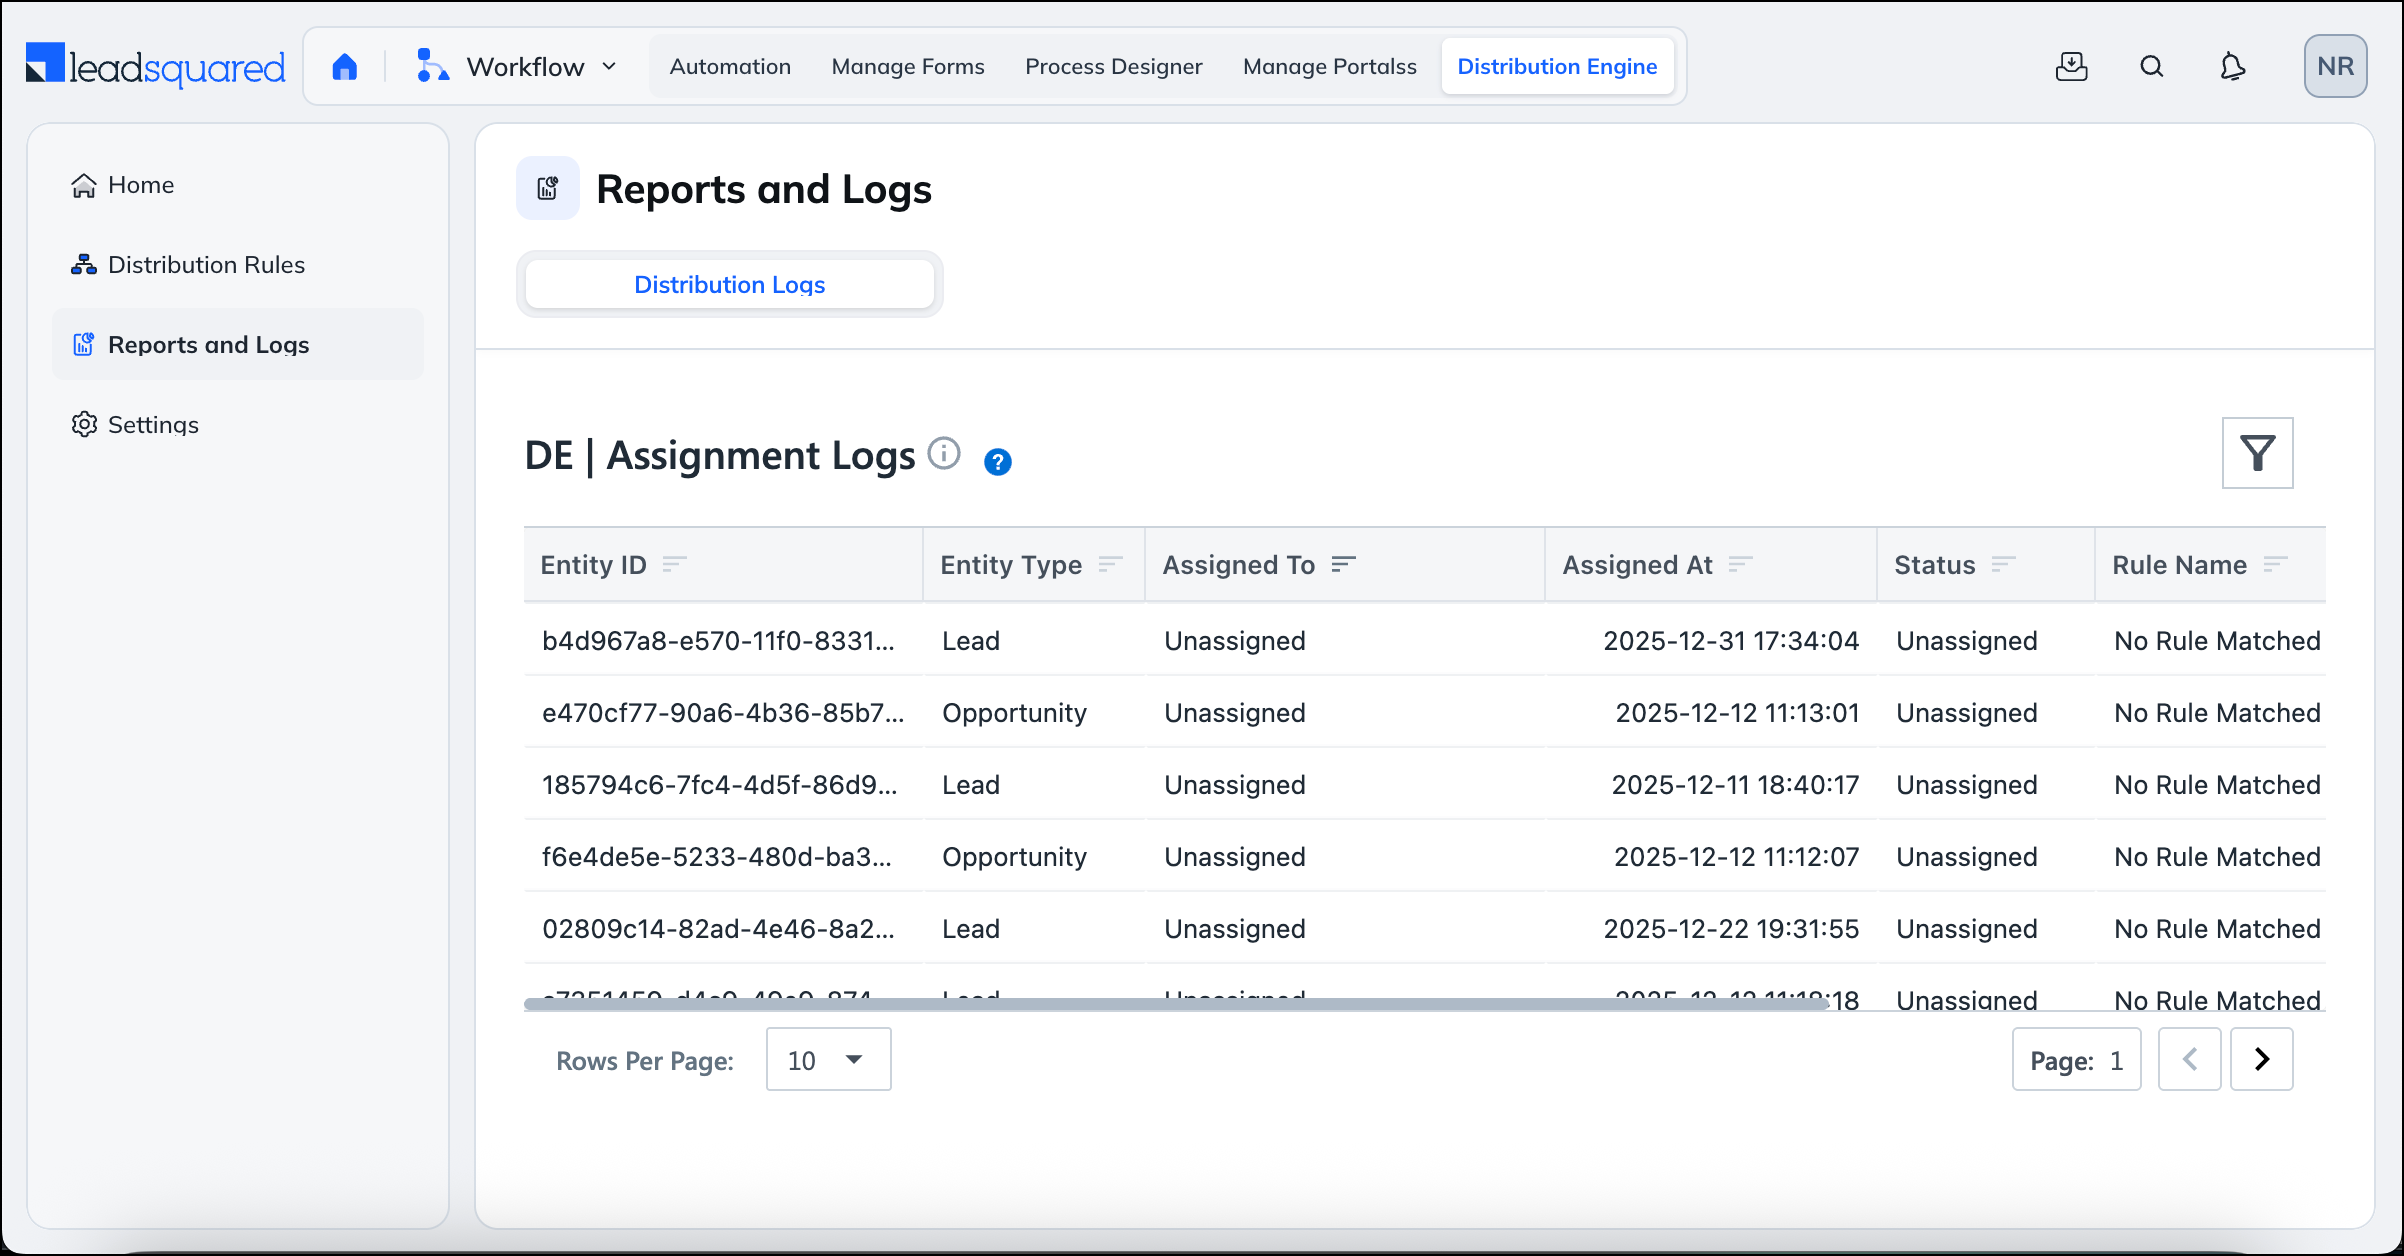
The Reports & Logs section helps you understand how records are being assigned and identify issues such as missed assignments.
You can use these reports to:
All reports can be filtered by date range, sales group, assigned user, and entity type to quickly narrow down the data you need.
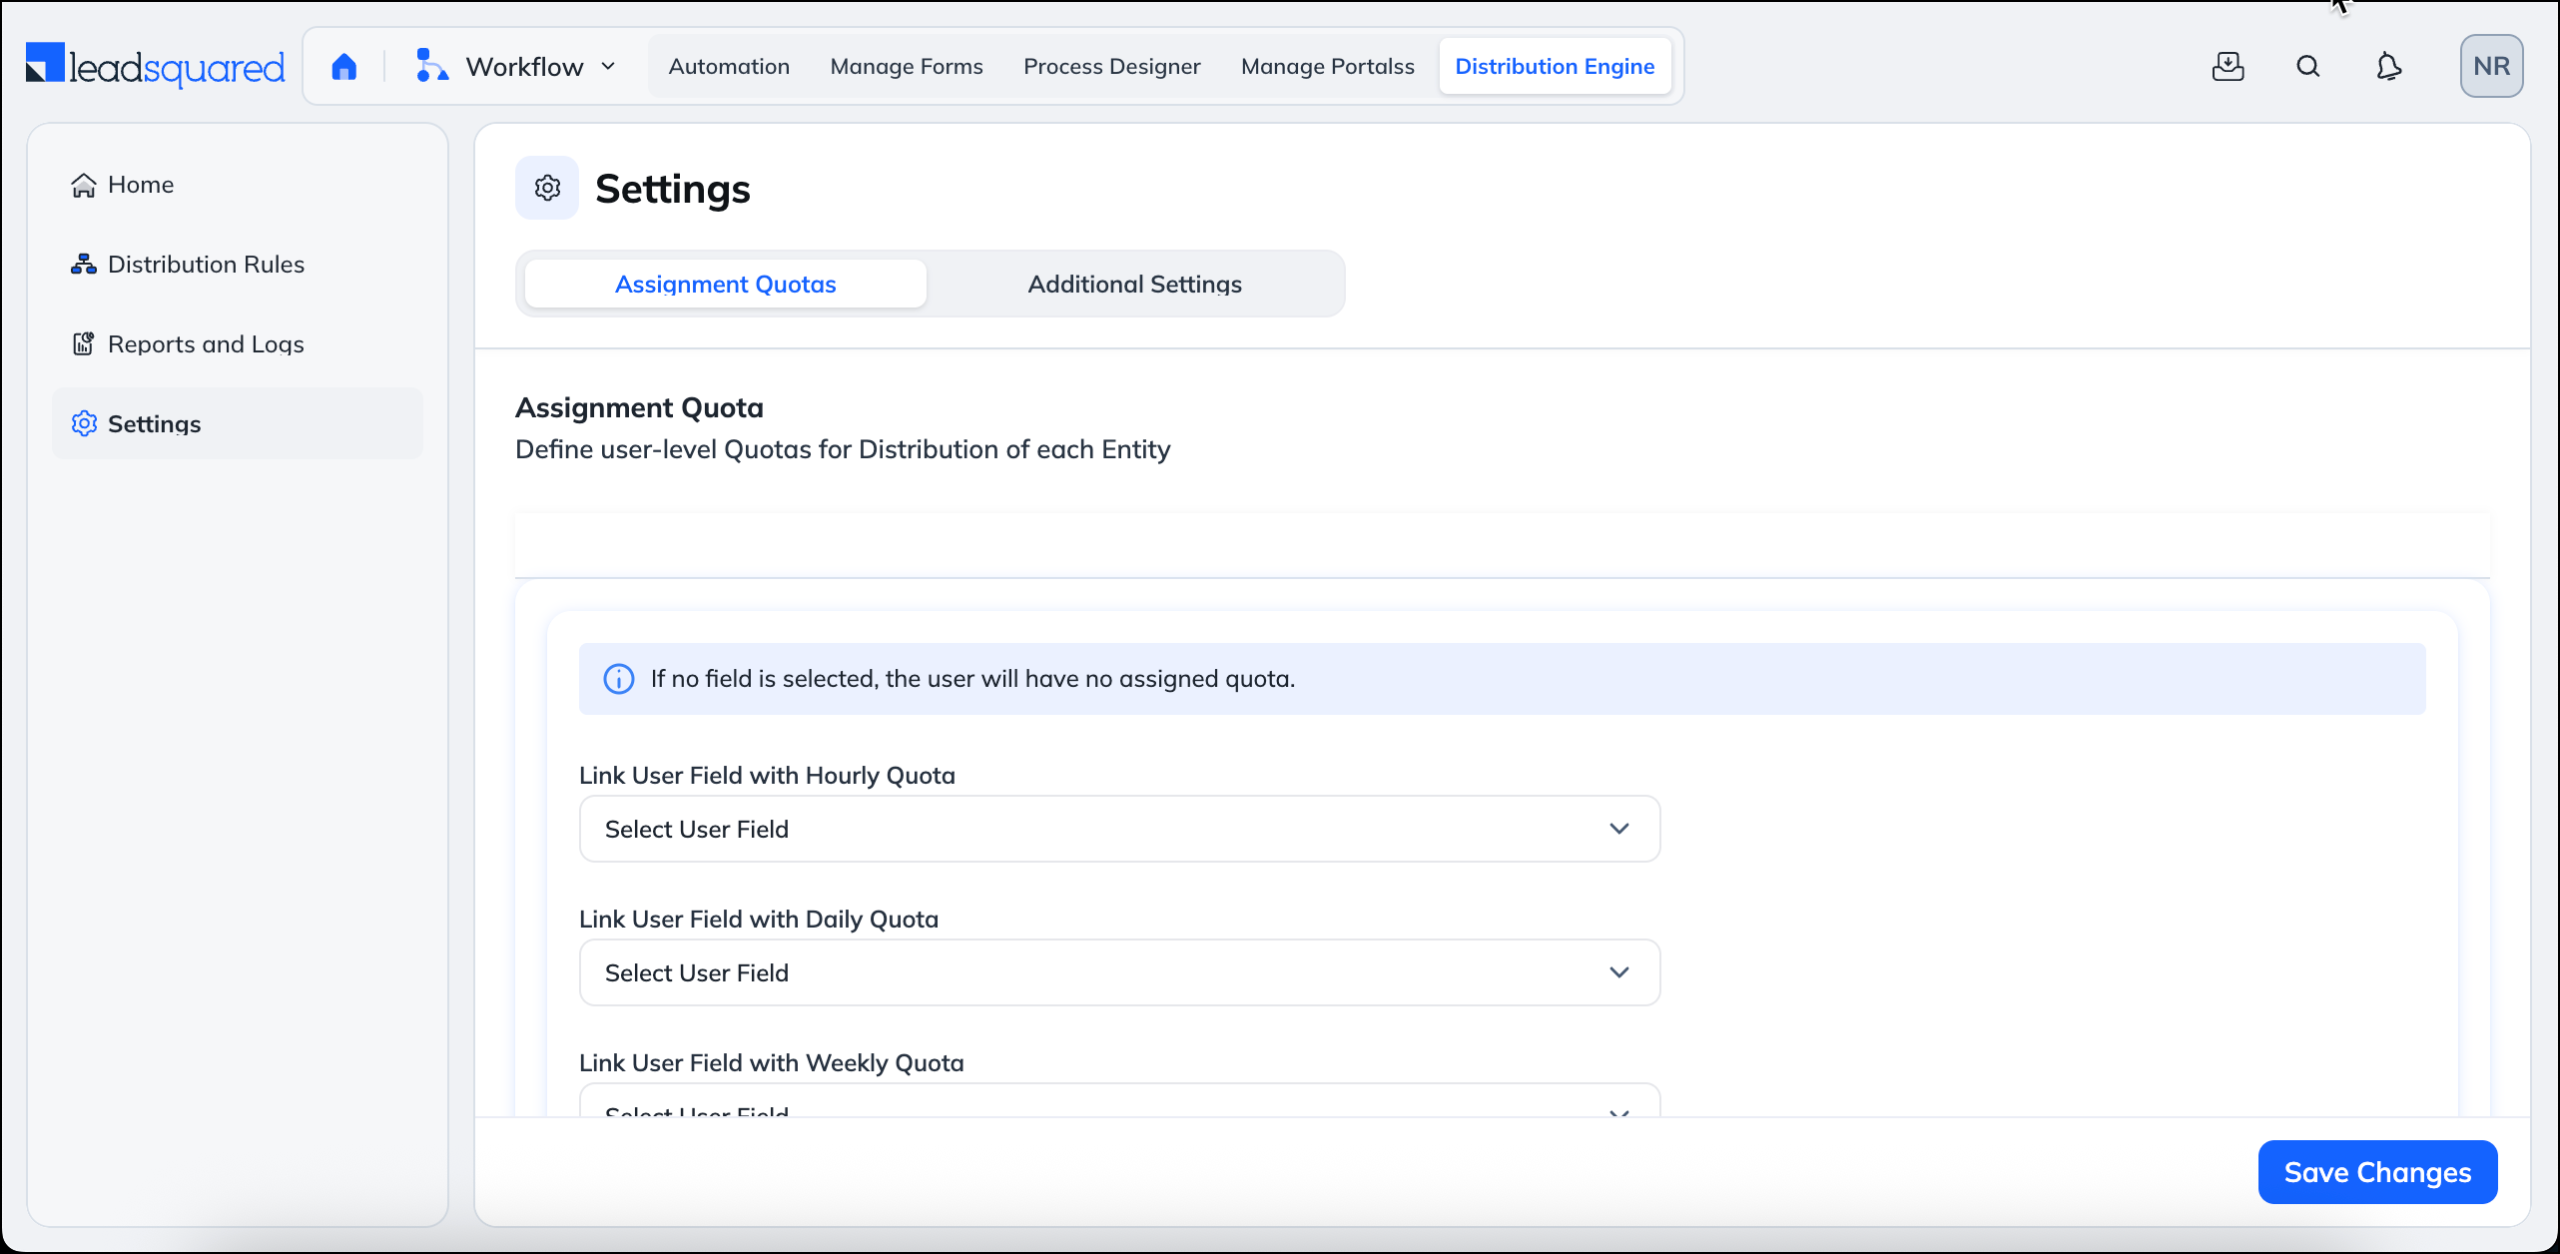
The Assignment Settings section defines the global controls used by the Distribute Engine, including who can receive assignments and how many records they can be assigned.
User Assignment Limits
Admins can map user fields to control how many records a user can receive on an hourly, daily, weekly, or monthly basis. If no limit is configured, the user is treated as having unlimited capacity.
User Eligibility for Assignment
Admins can control which users are eligible to receive assignments based on their Check-in / Check-out status. Only users who meet the configured eligibility conditions are considered during assignment.
What happens if no user is available?
The record is assigned to the fallback user configured in the rule or settings.
Can I temporarily stop assignments to a user?
Yes. Mark the user unavailable, apply leave, or remove them from the rule.
Can I edit an active rule?
Yes. Changes take effect once you save and activate the rule again.
Did you find the content in this article helpful? Feel free to leave doubts/questions in the comment section below. We’ll get back to you as soon as possible.